Blister Packing Tutorial
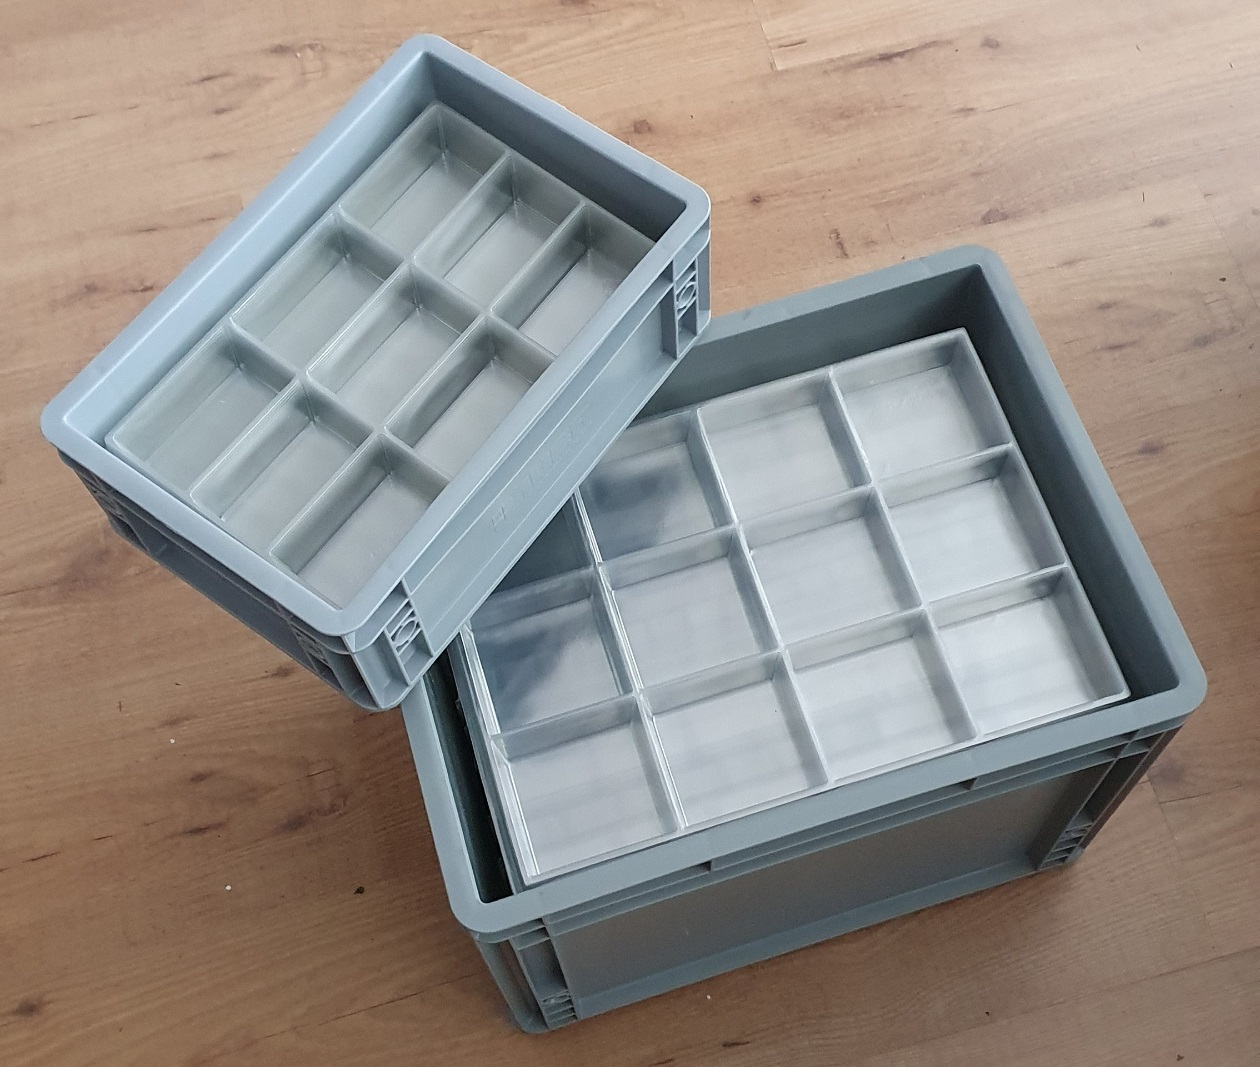
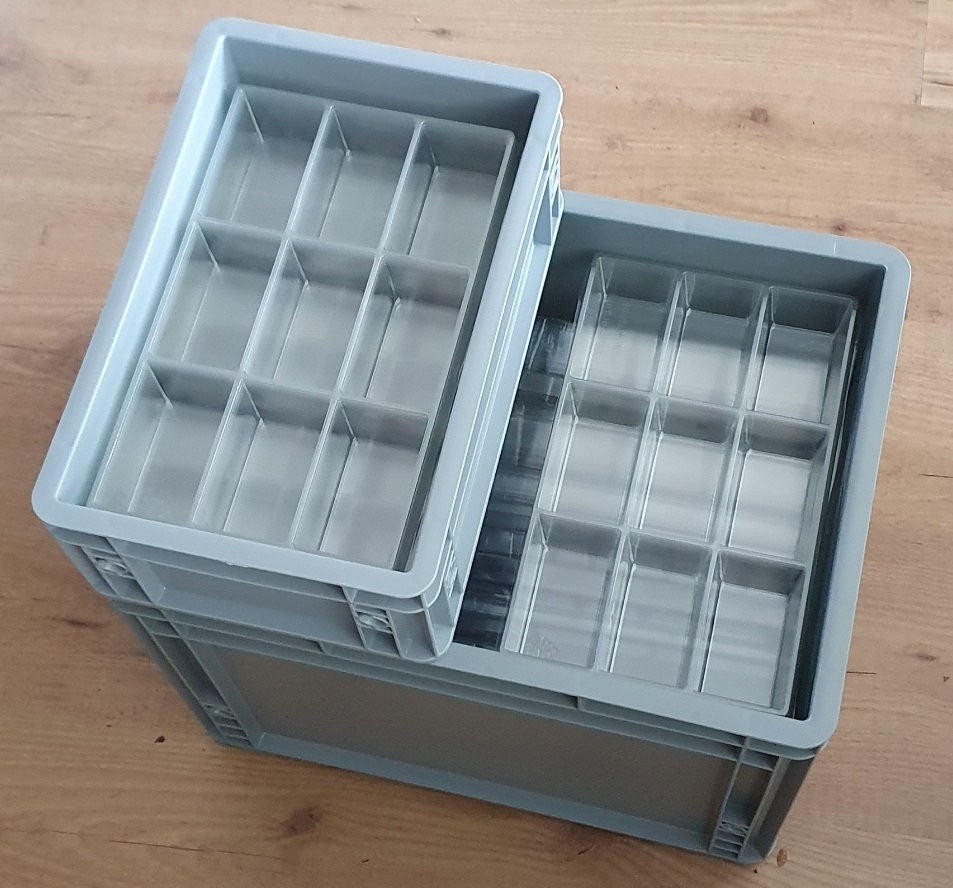
When using Transport Crates
Our large blisters fit perfectly in the standard Euronorm transport crates with dimensions 400x300xH mm. The H represents the different heights available on the market.
The small blisters are designed to fit inside the smaller Euronorm box with dimensions 300x200xH mm. You can also put 2 small blisters in the large crates next to eachother.
The internal dimensions of the crates are slightly larger than our blisters.
Using these crates is always a safe transport solution. Never forget to use a bit of rigid filling material to prevent movement inside the crate.
When using Cardboard Boxes
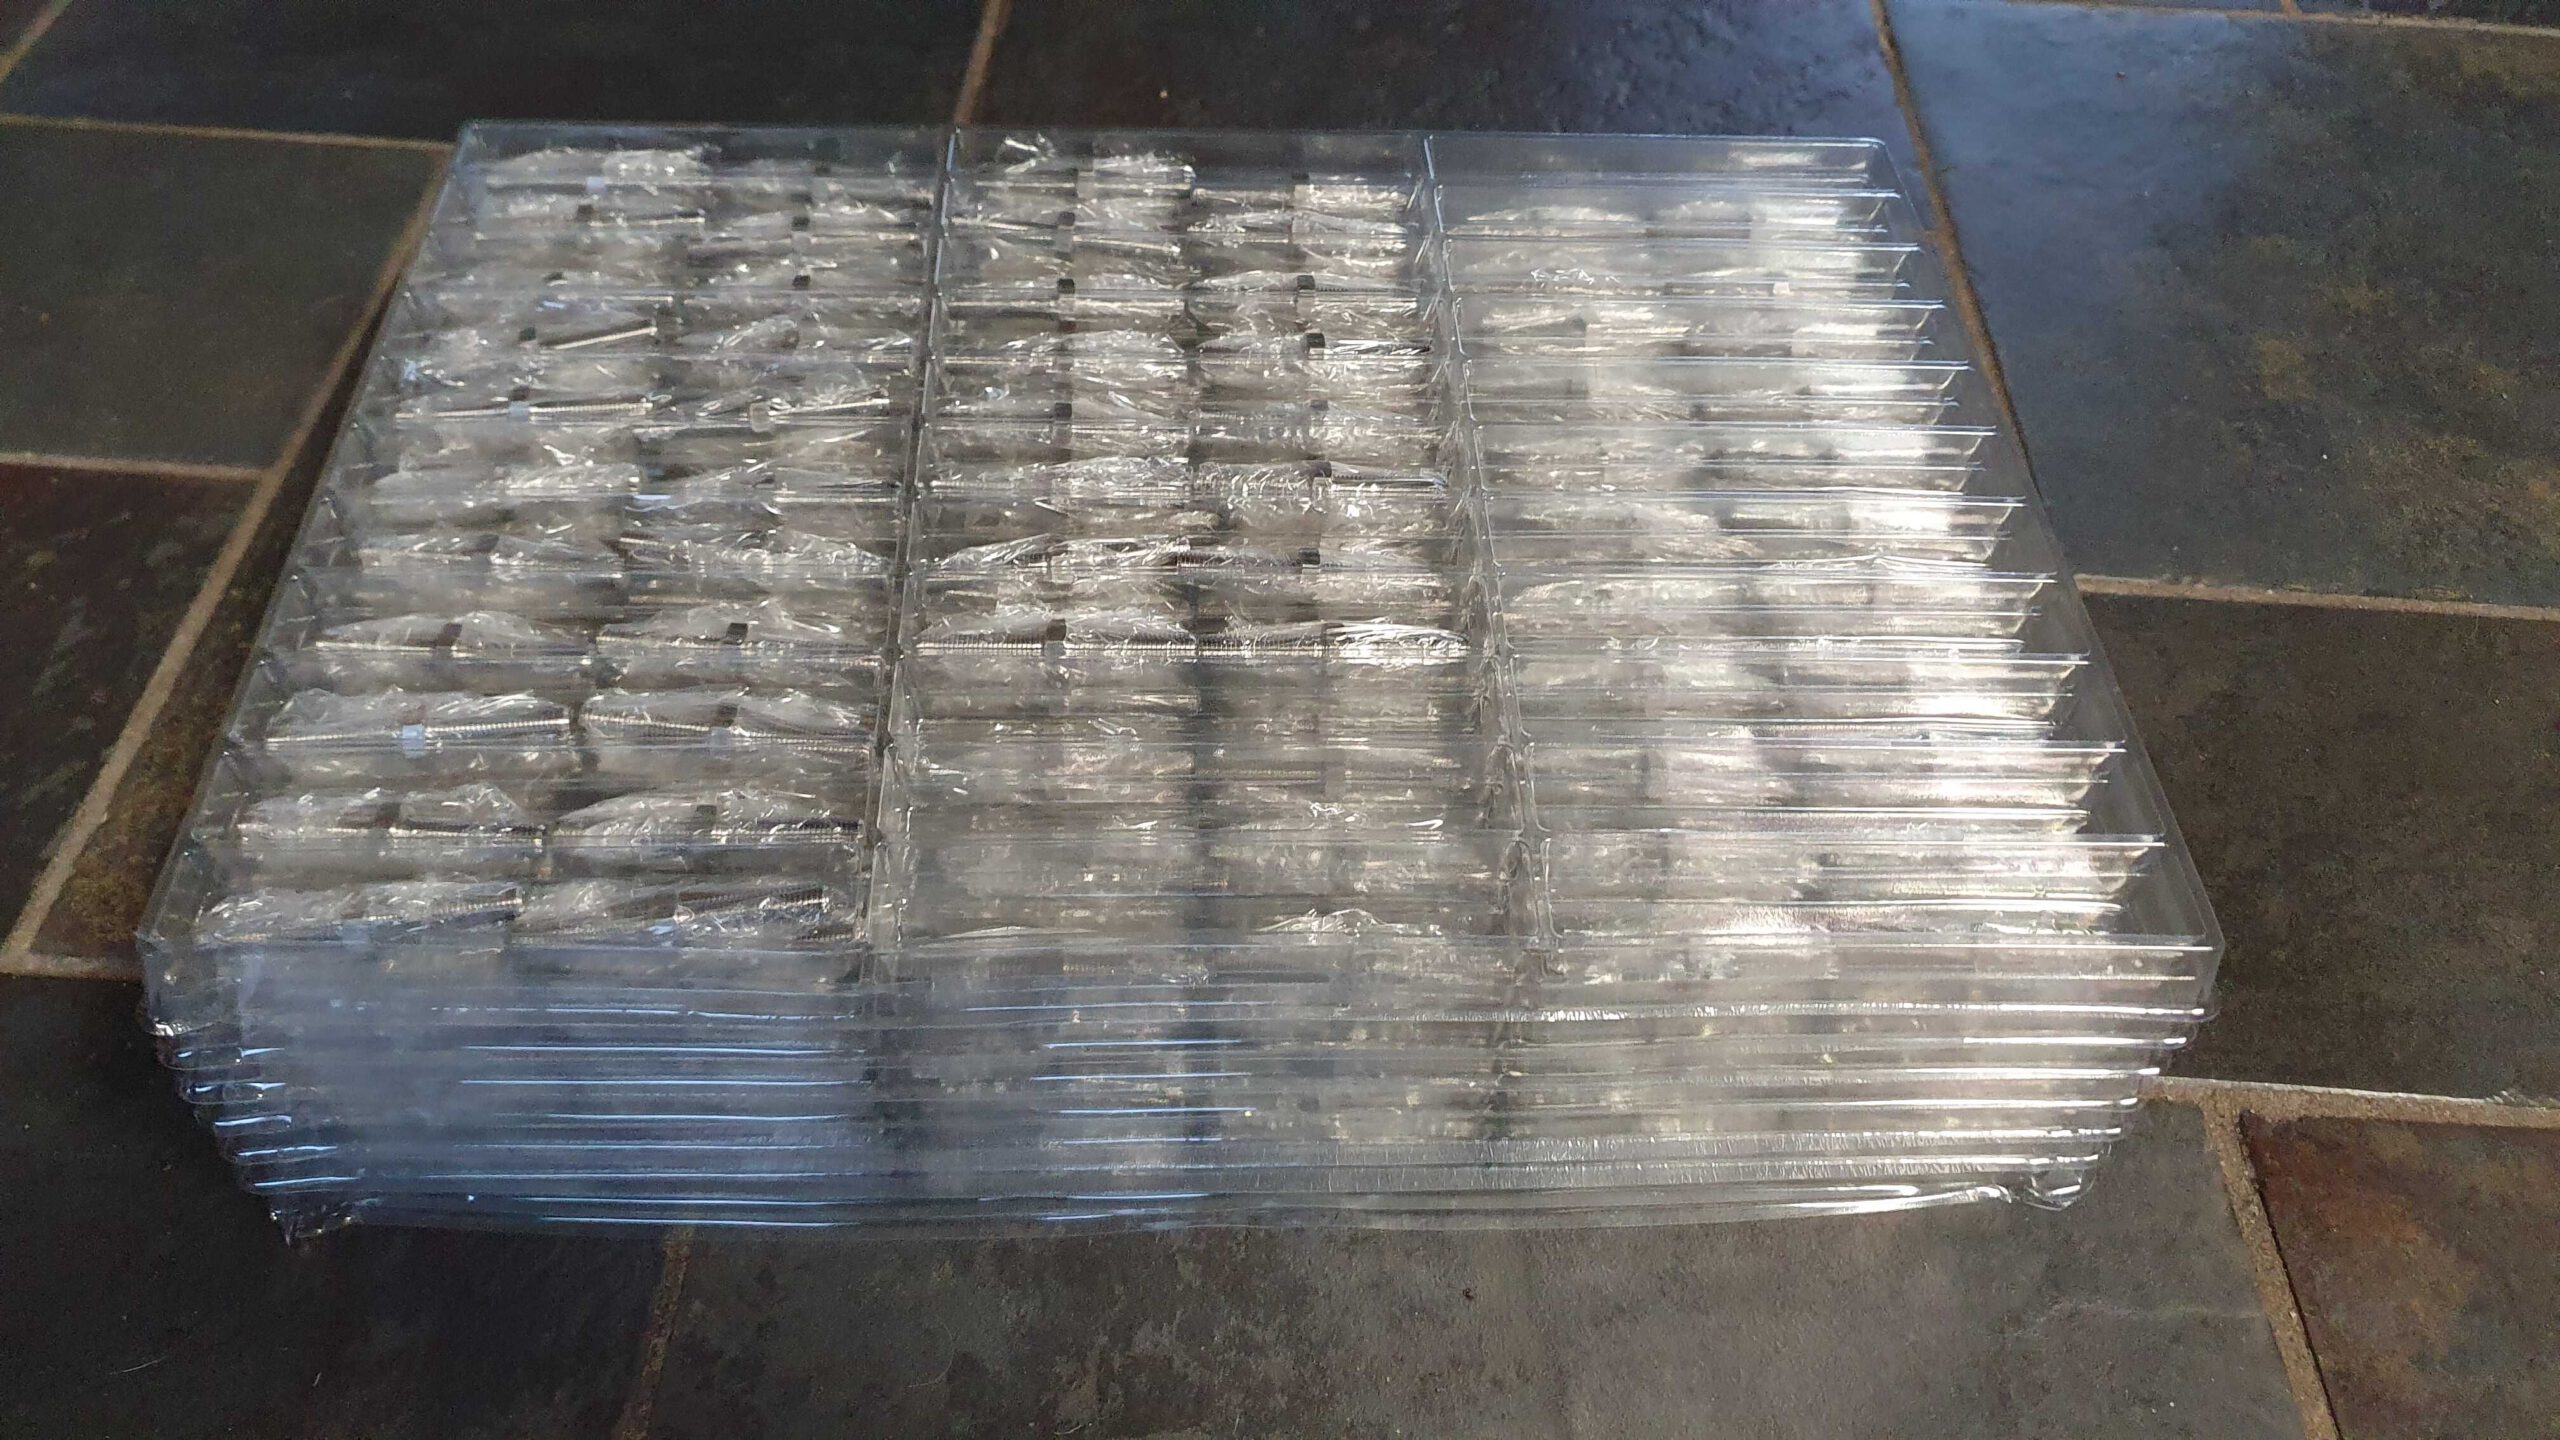
First make a pile of blisters.
Put an empty blister on top of the last, this will fix the parts at its position.
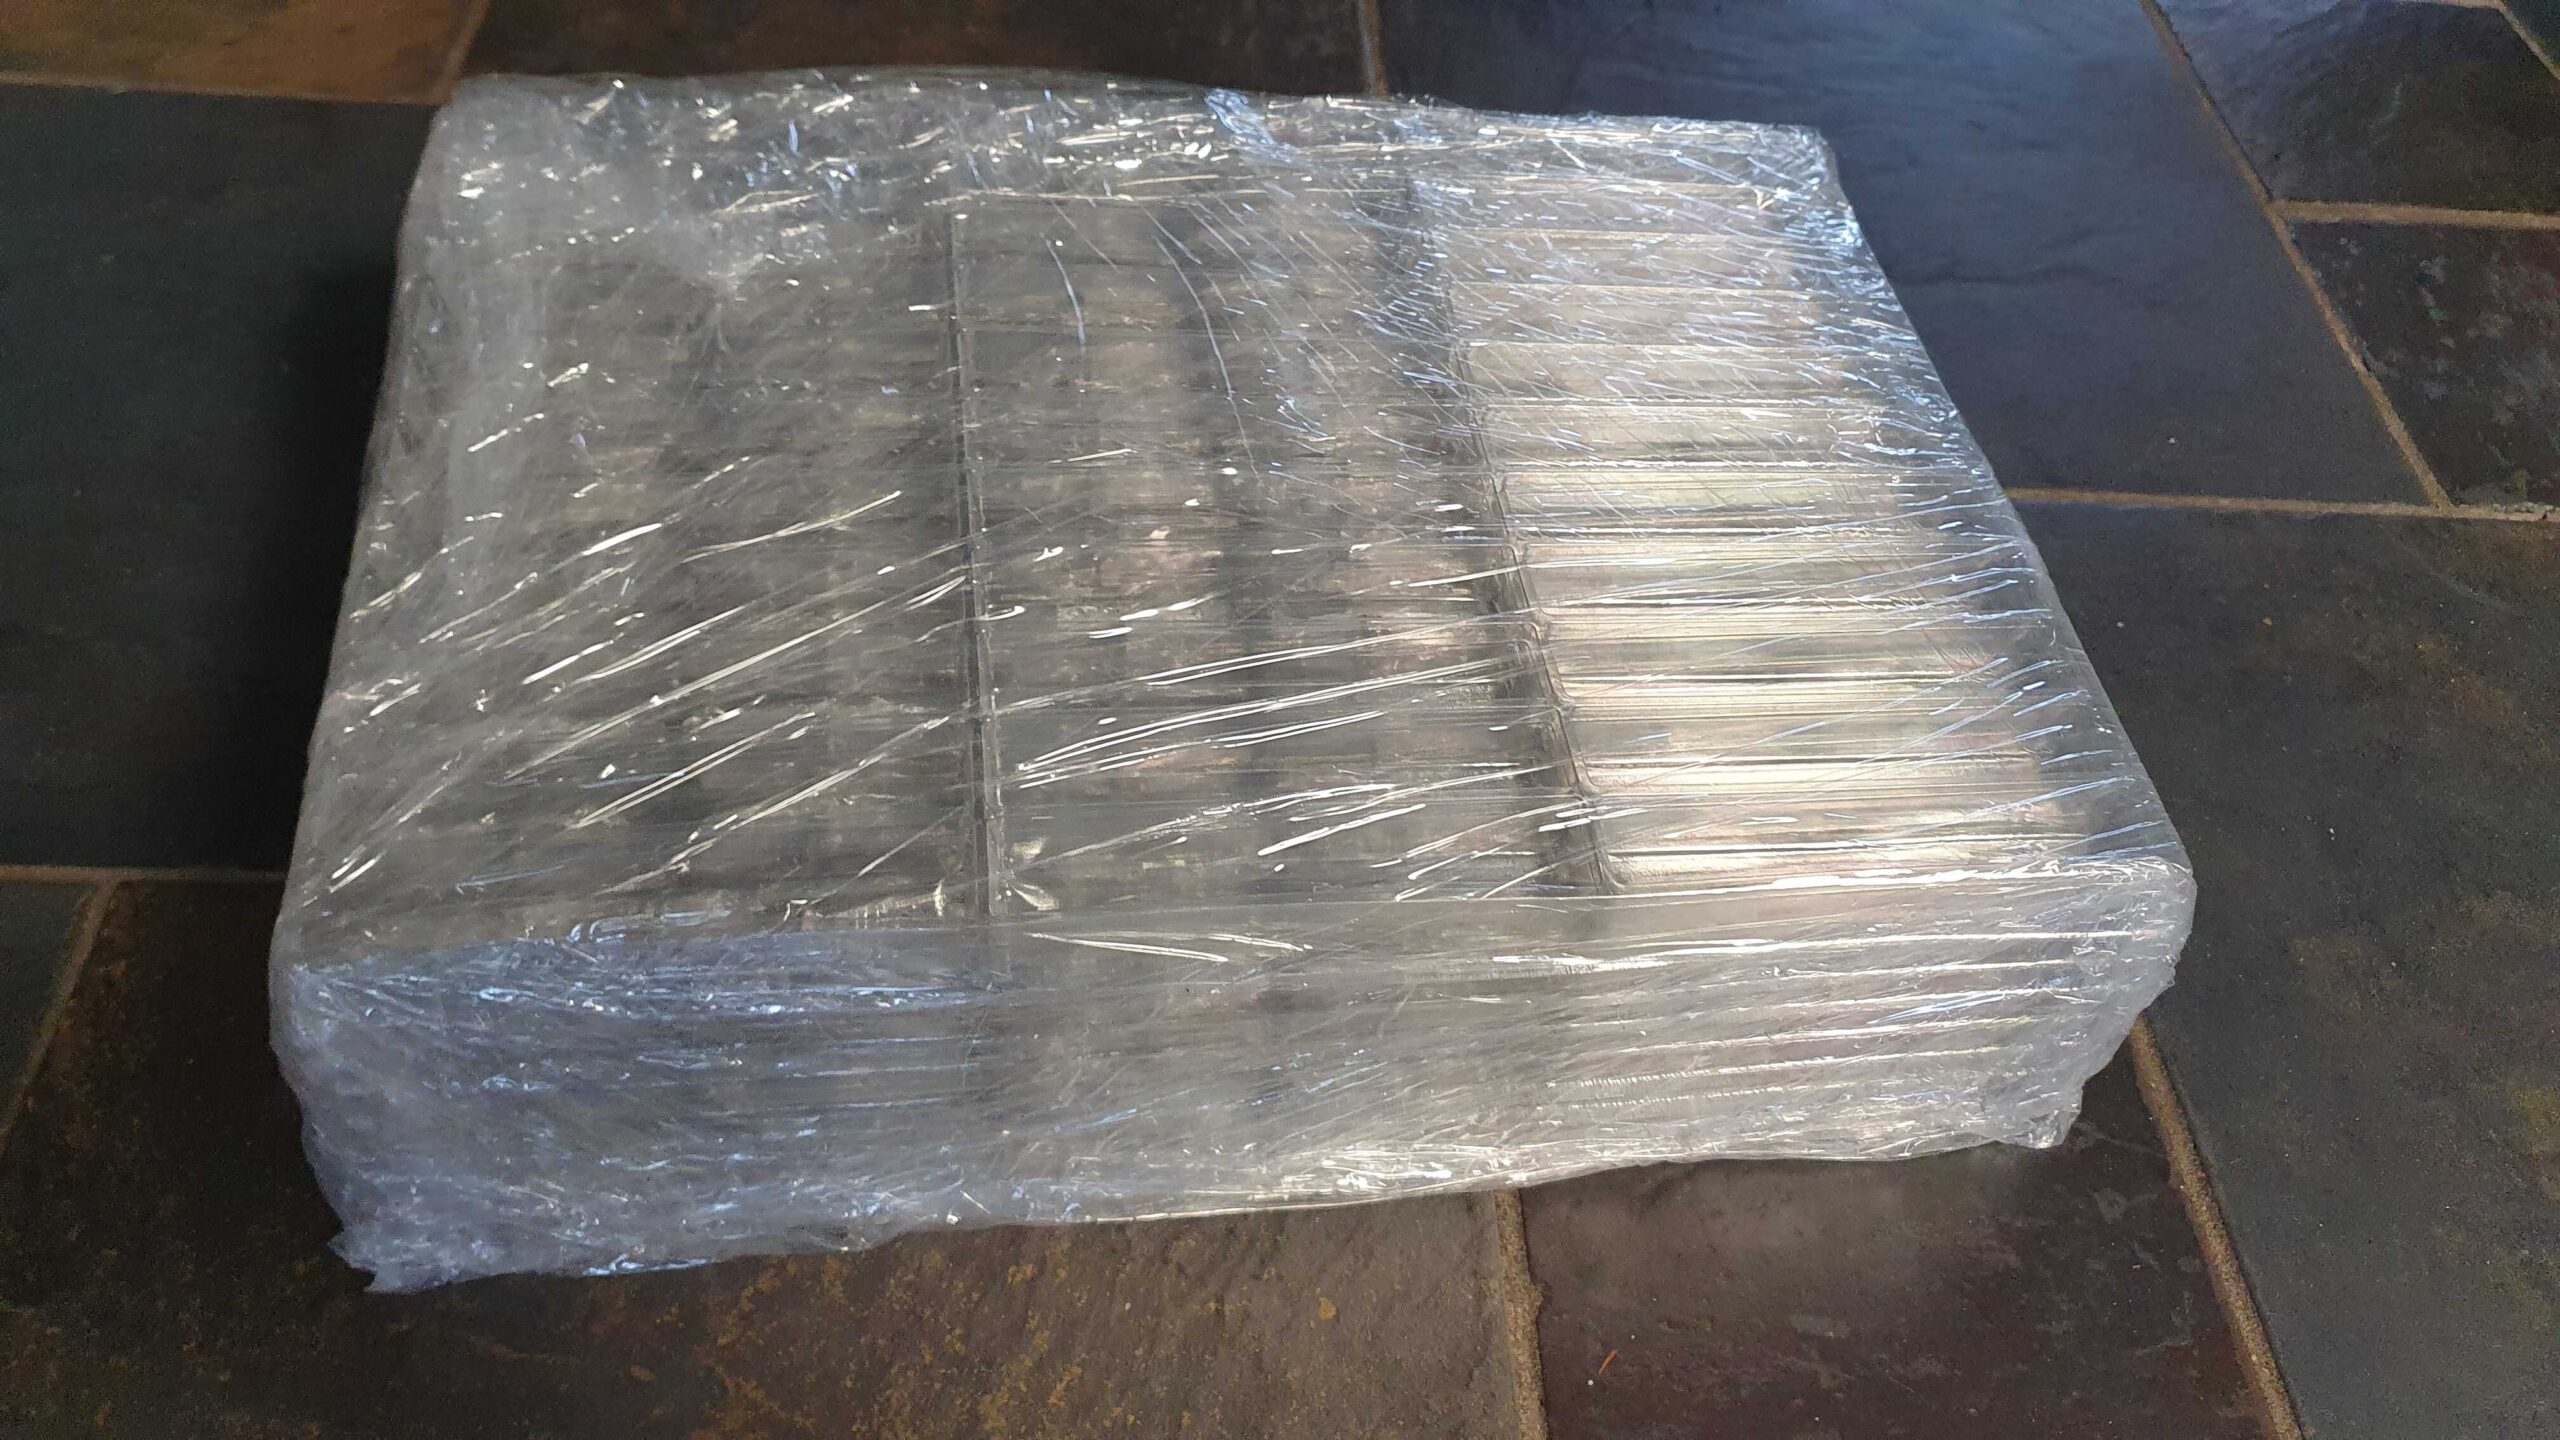
Wrap some shrink foil around the pile of blisters. You will get a blister pack that is easy to handle, and nothing can fall out or change position.
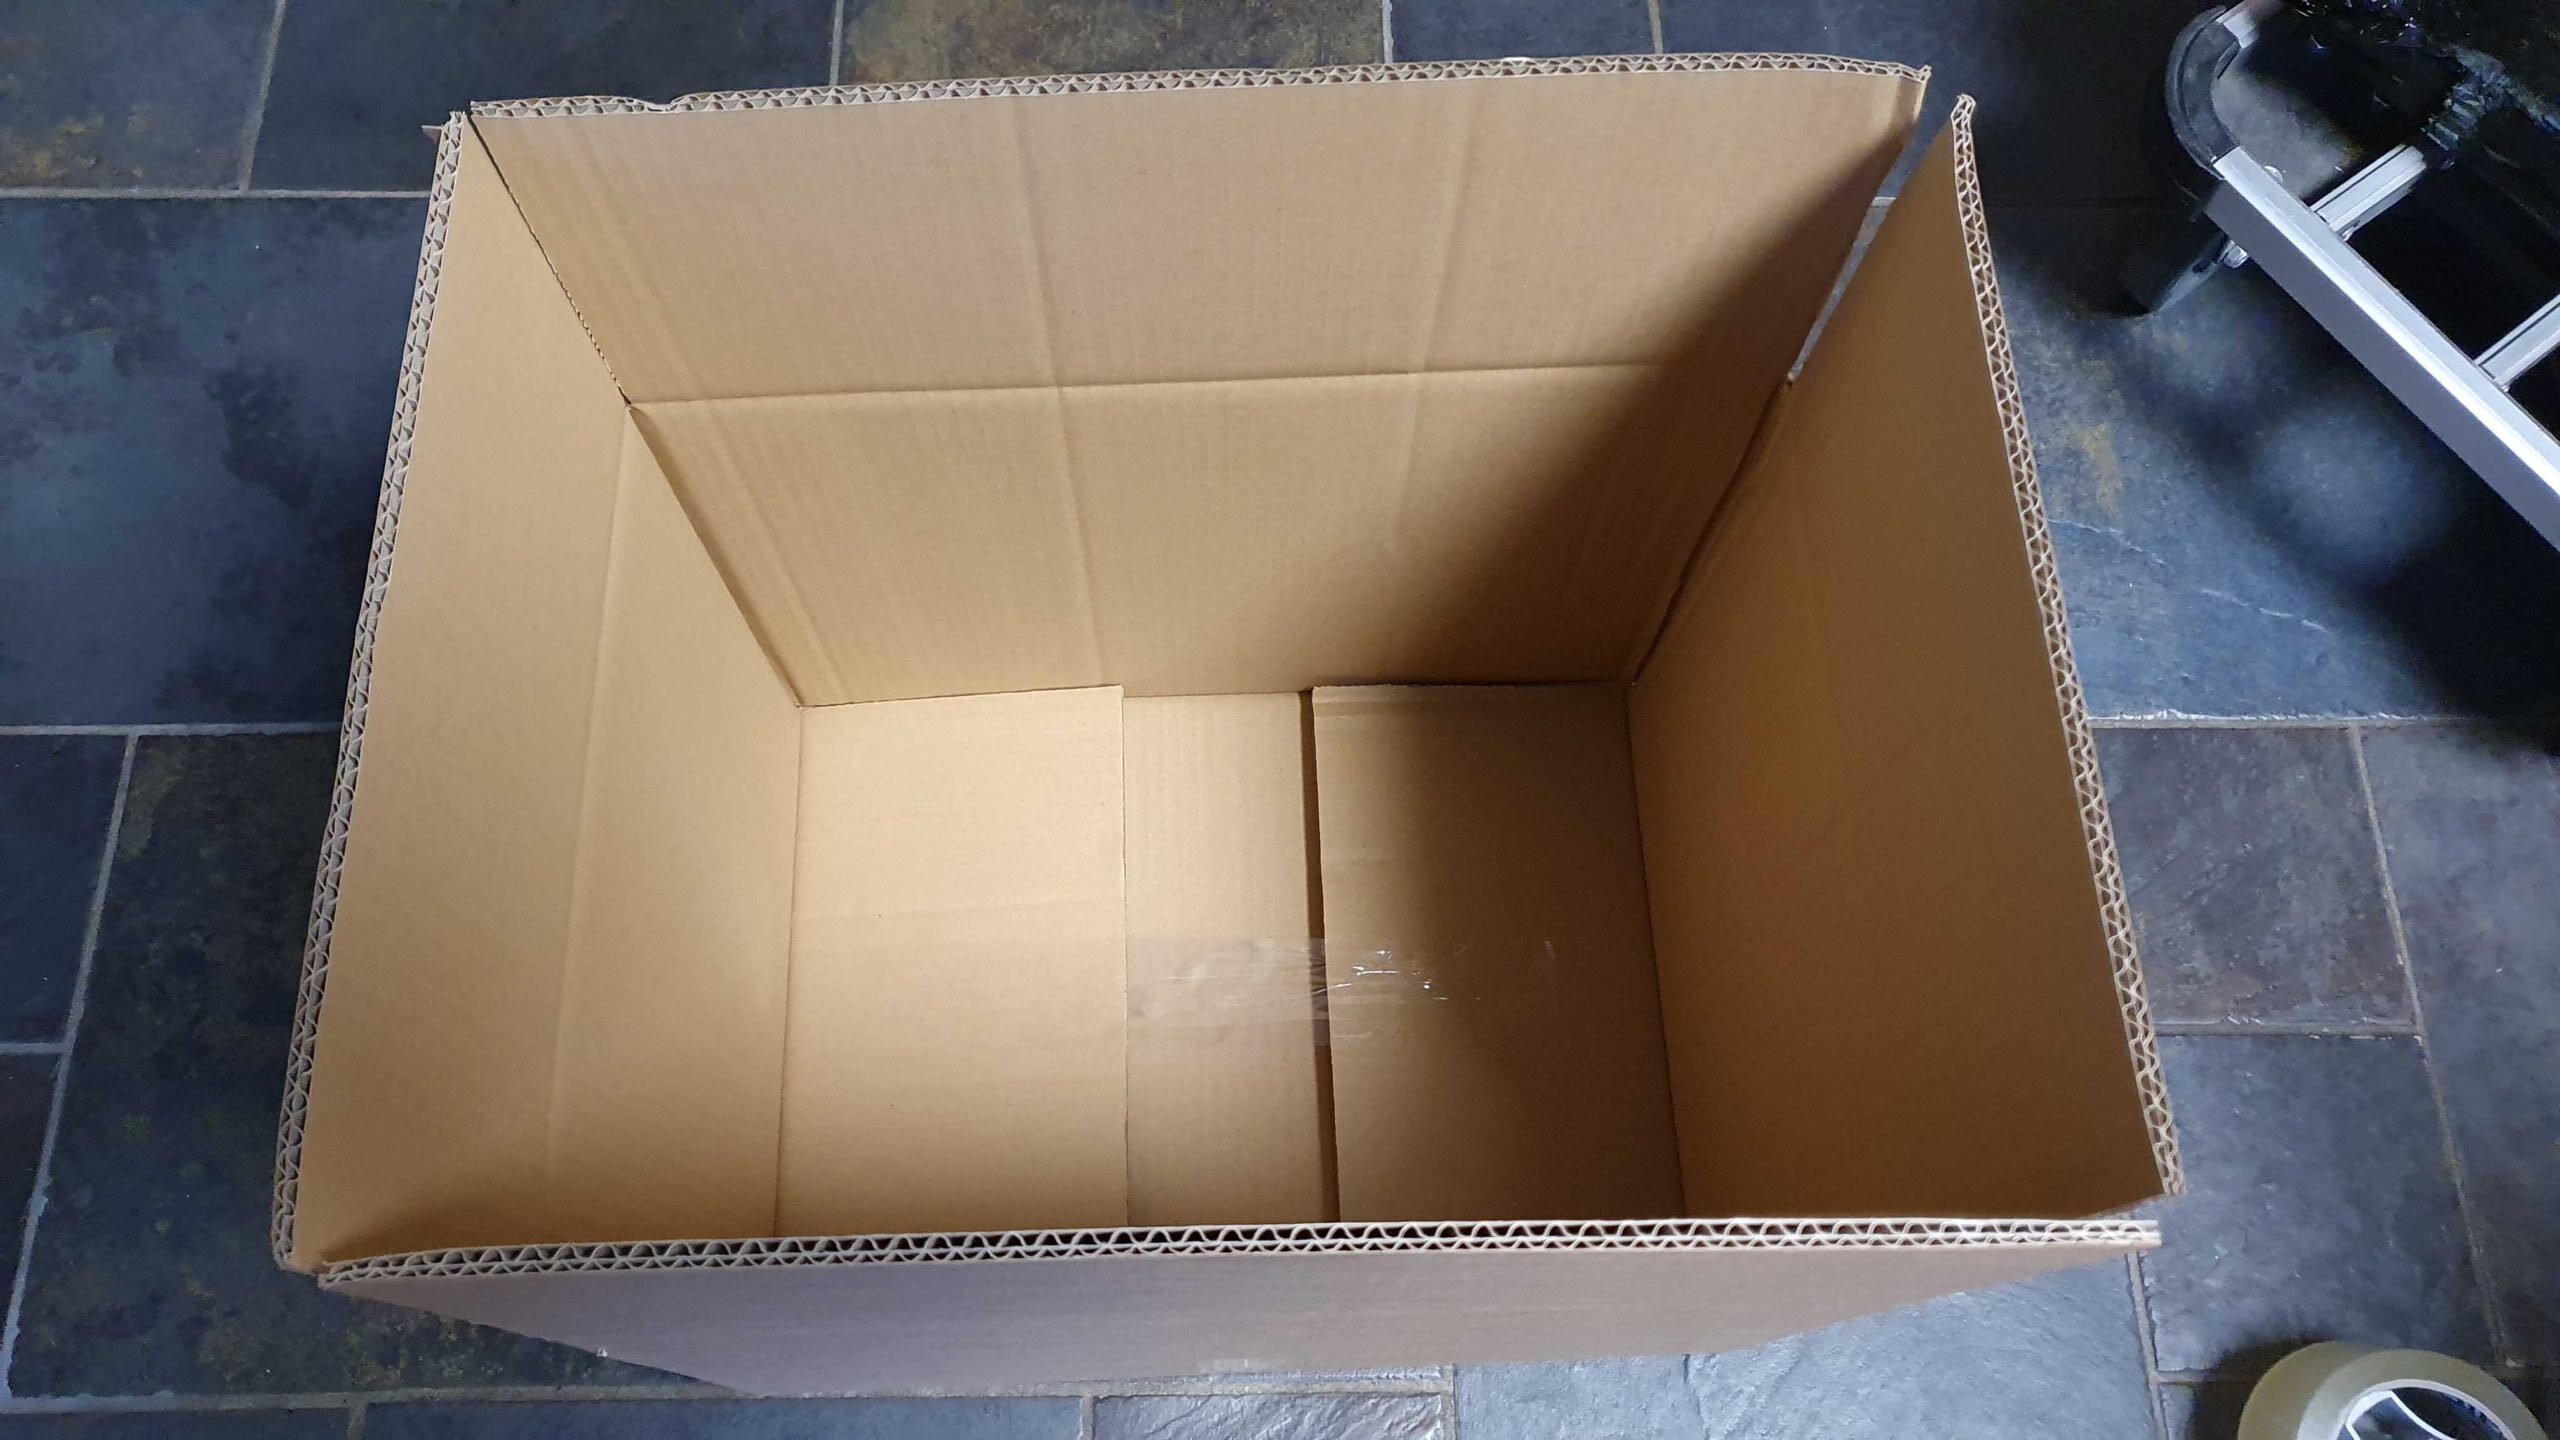
Select a cardboard box that will leave some space around all sides of the created blister pack.
Be aware that all our blisters have the size 35×25 cm.
Our boxes Art 125 (370x270x200 mm) and the somewhat thinner, but still double layered, Art 126 (400x30x200 mm) will do just fine.
We advice to always use double walled cardboard boxes.
Use a small piece of tape to keep down the flaps at the inside. This way the box filling material cannot go beneath it.
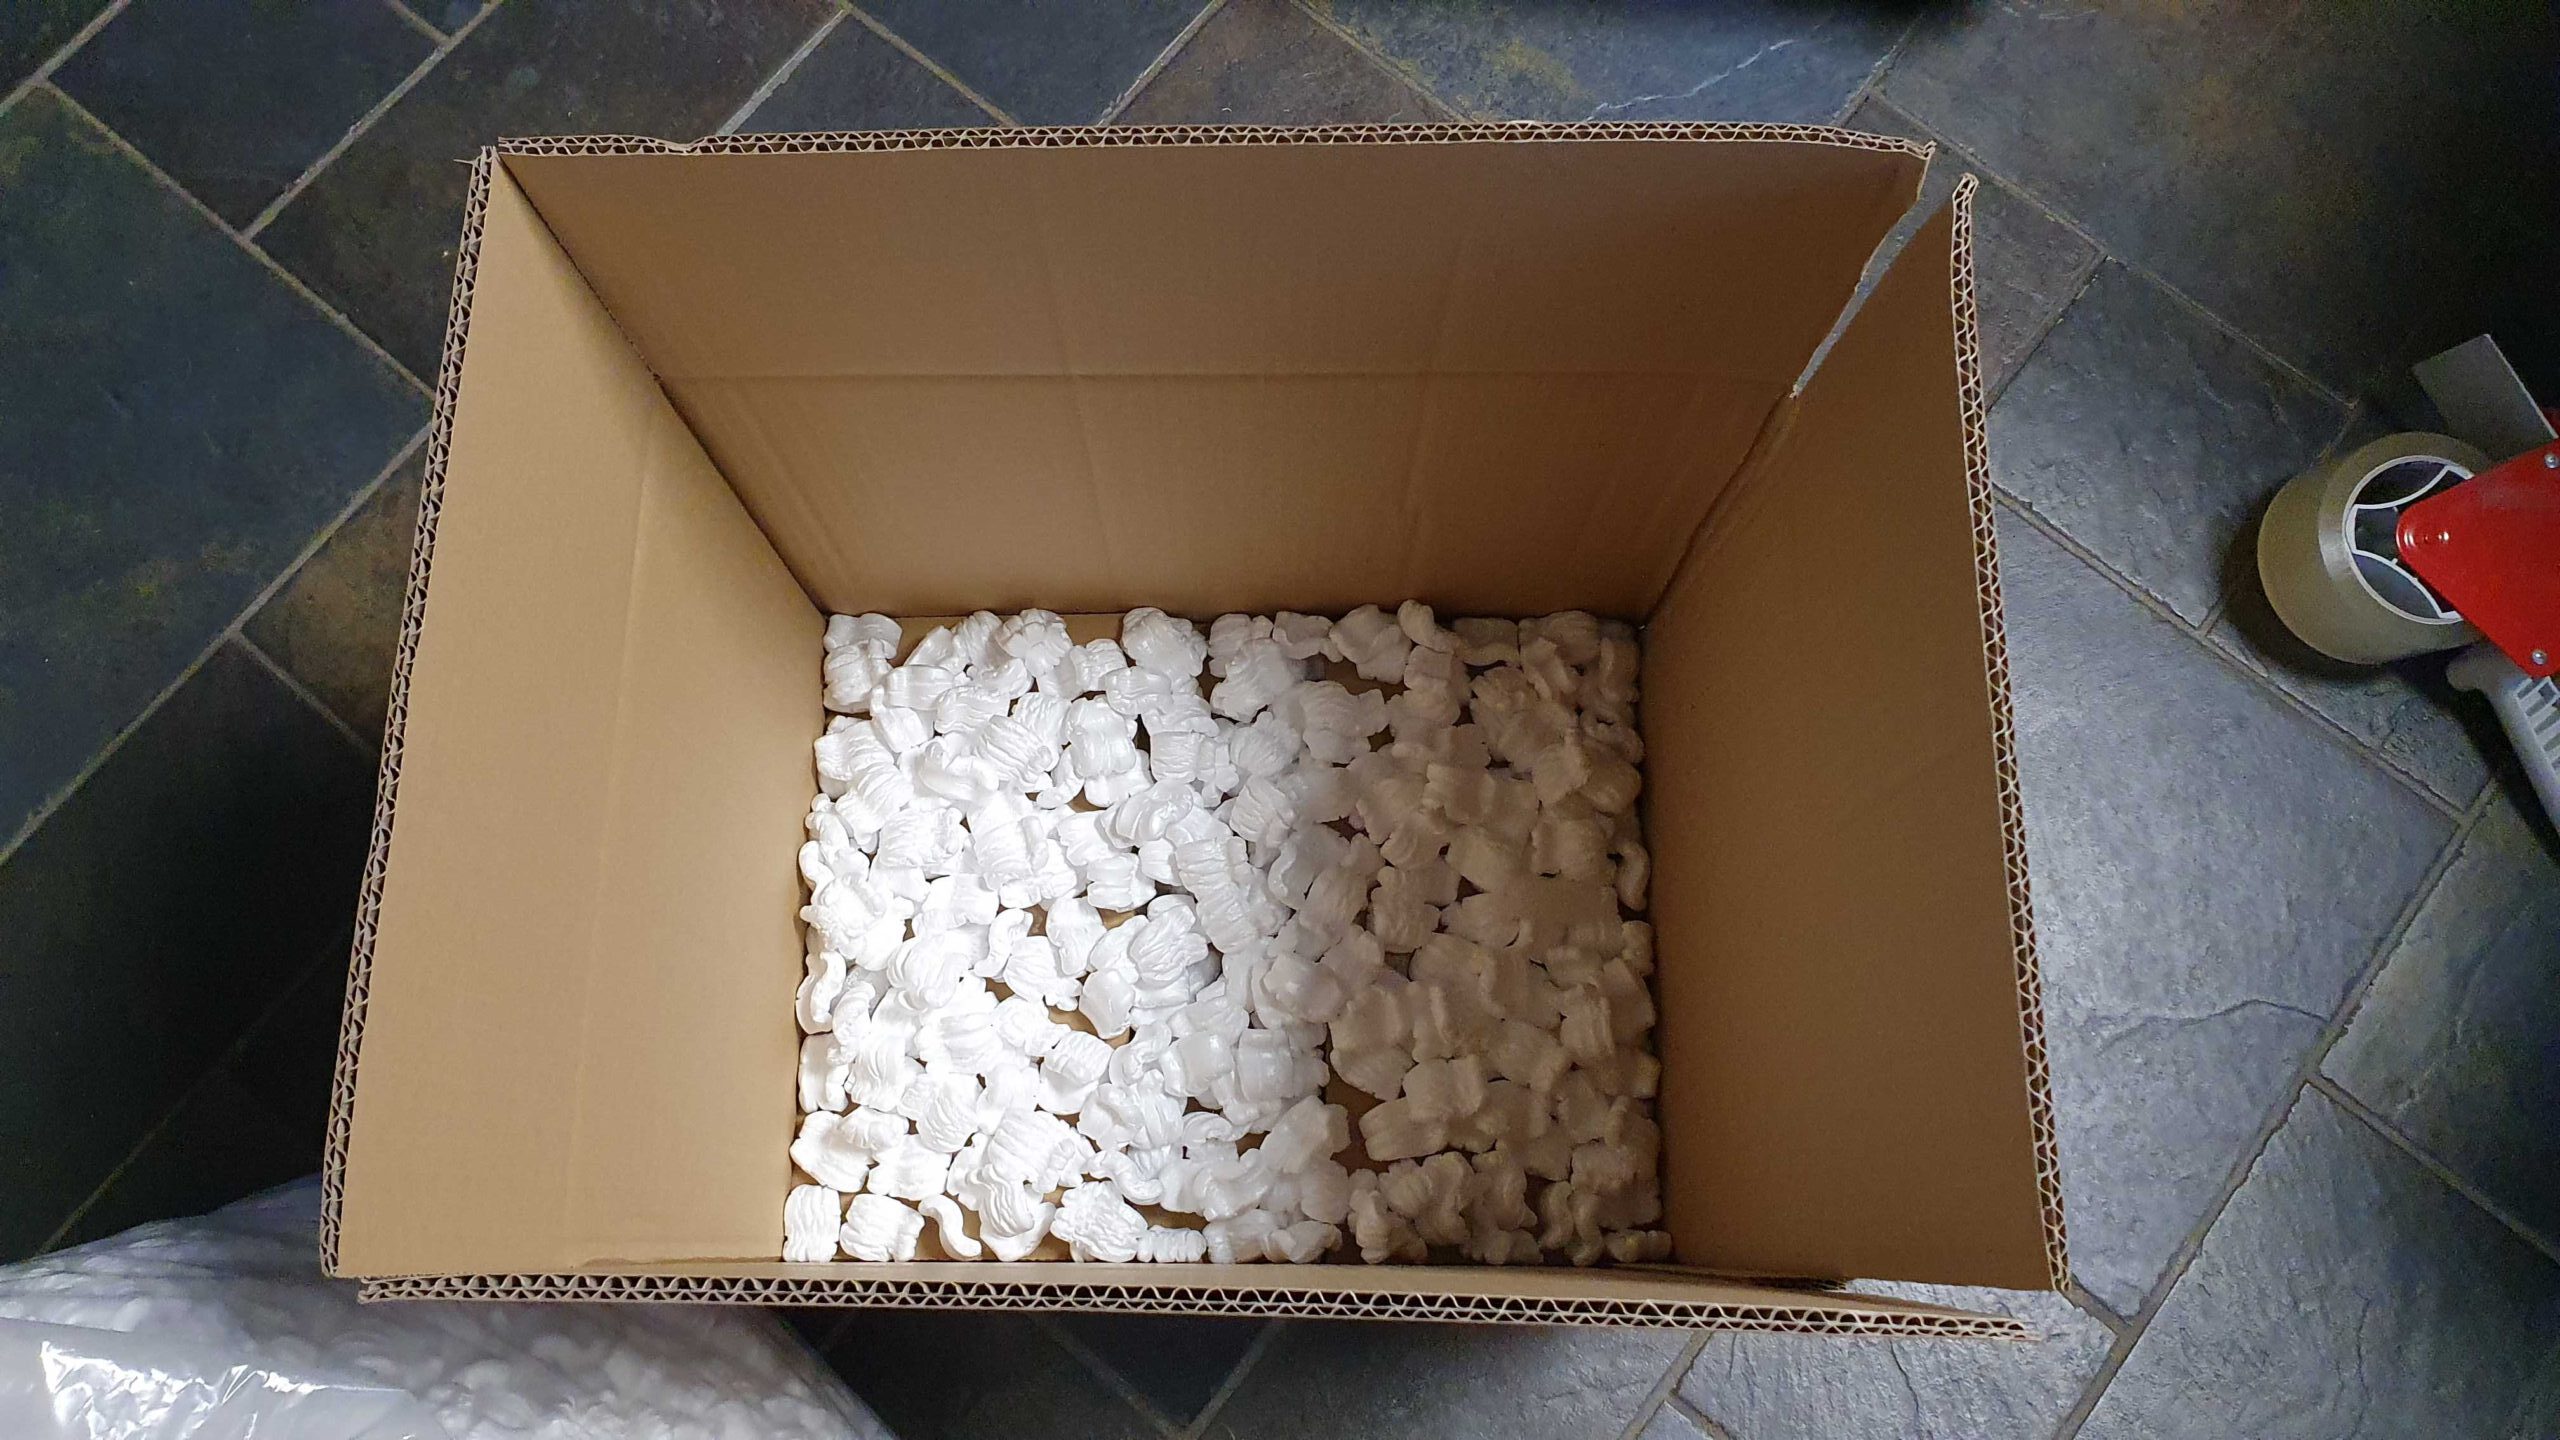
Put some filling material at the bottom of the box. Best use a strong material that will not lose its form.
Be aware that the pack with parts can be relatively heavy for filling materials like paper, foam flakes. If the filling material is not strong enough, your blister pack will create its own free space inside the box, also deminishing the strength of the box against impacts from the outside.
We can recommend the S-shaped polystyrene flakes you see in the picture. But strong plastic foam plates will also do the job.
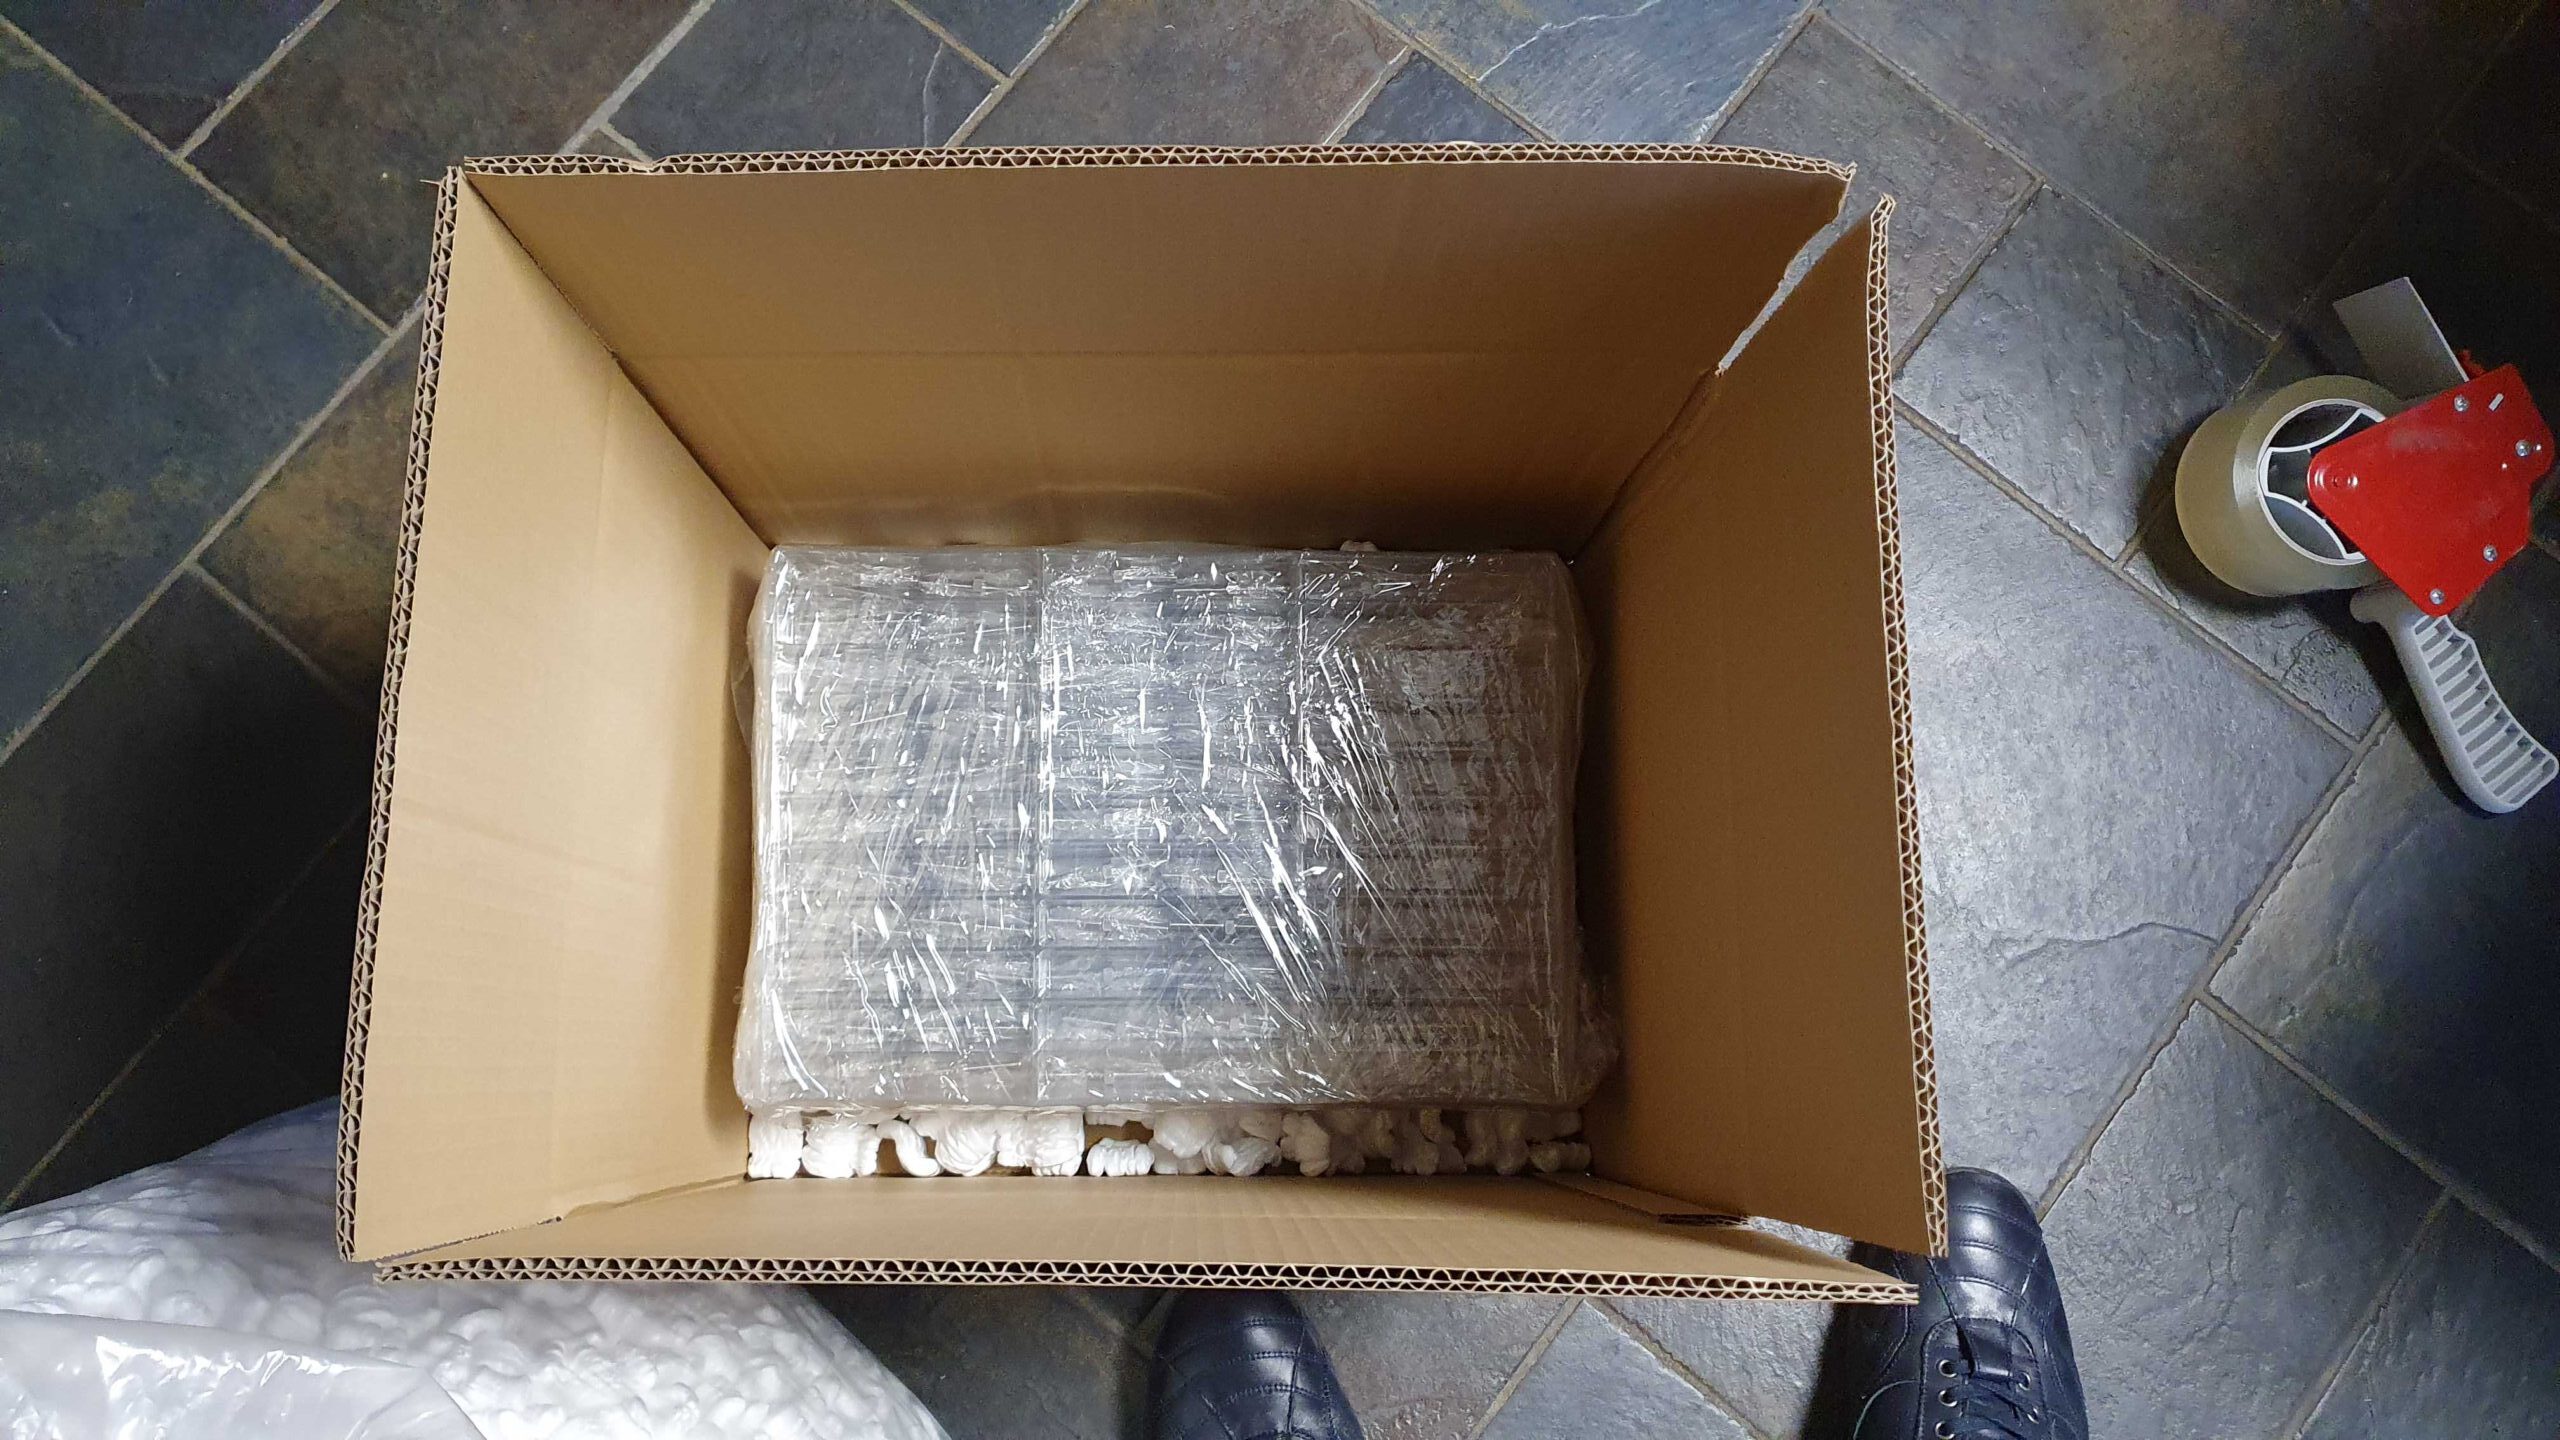
Now you can put your blister pack in the middle of the box.
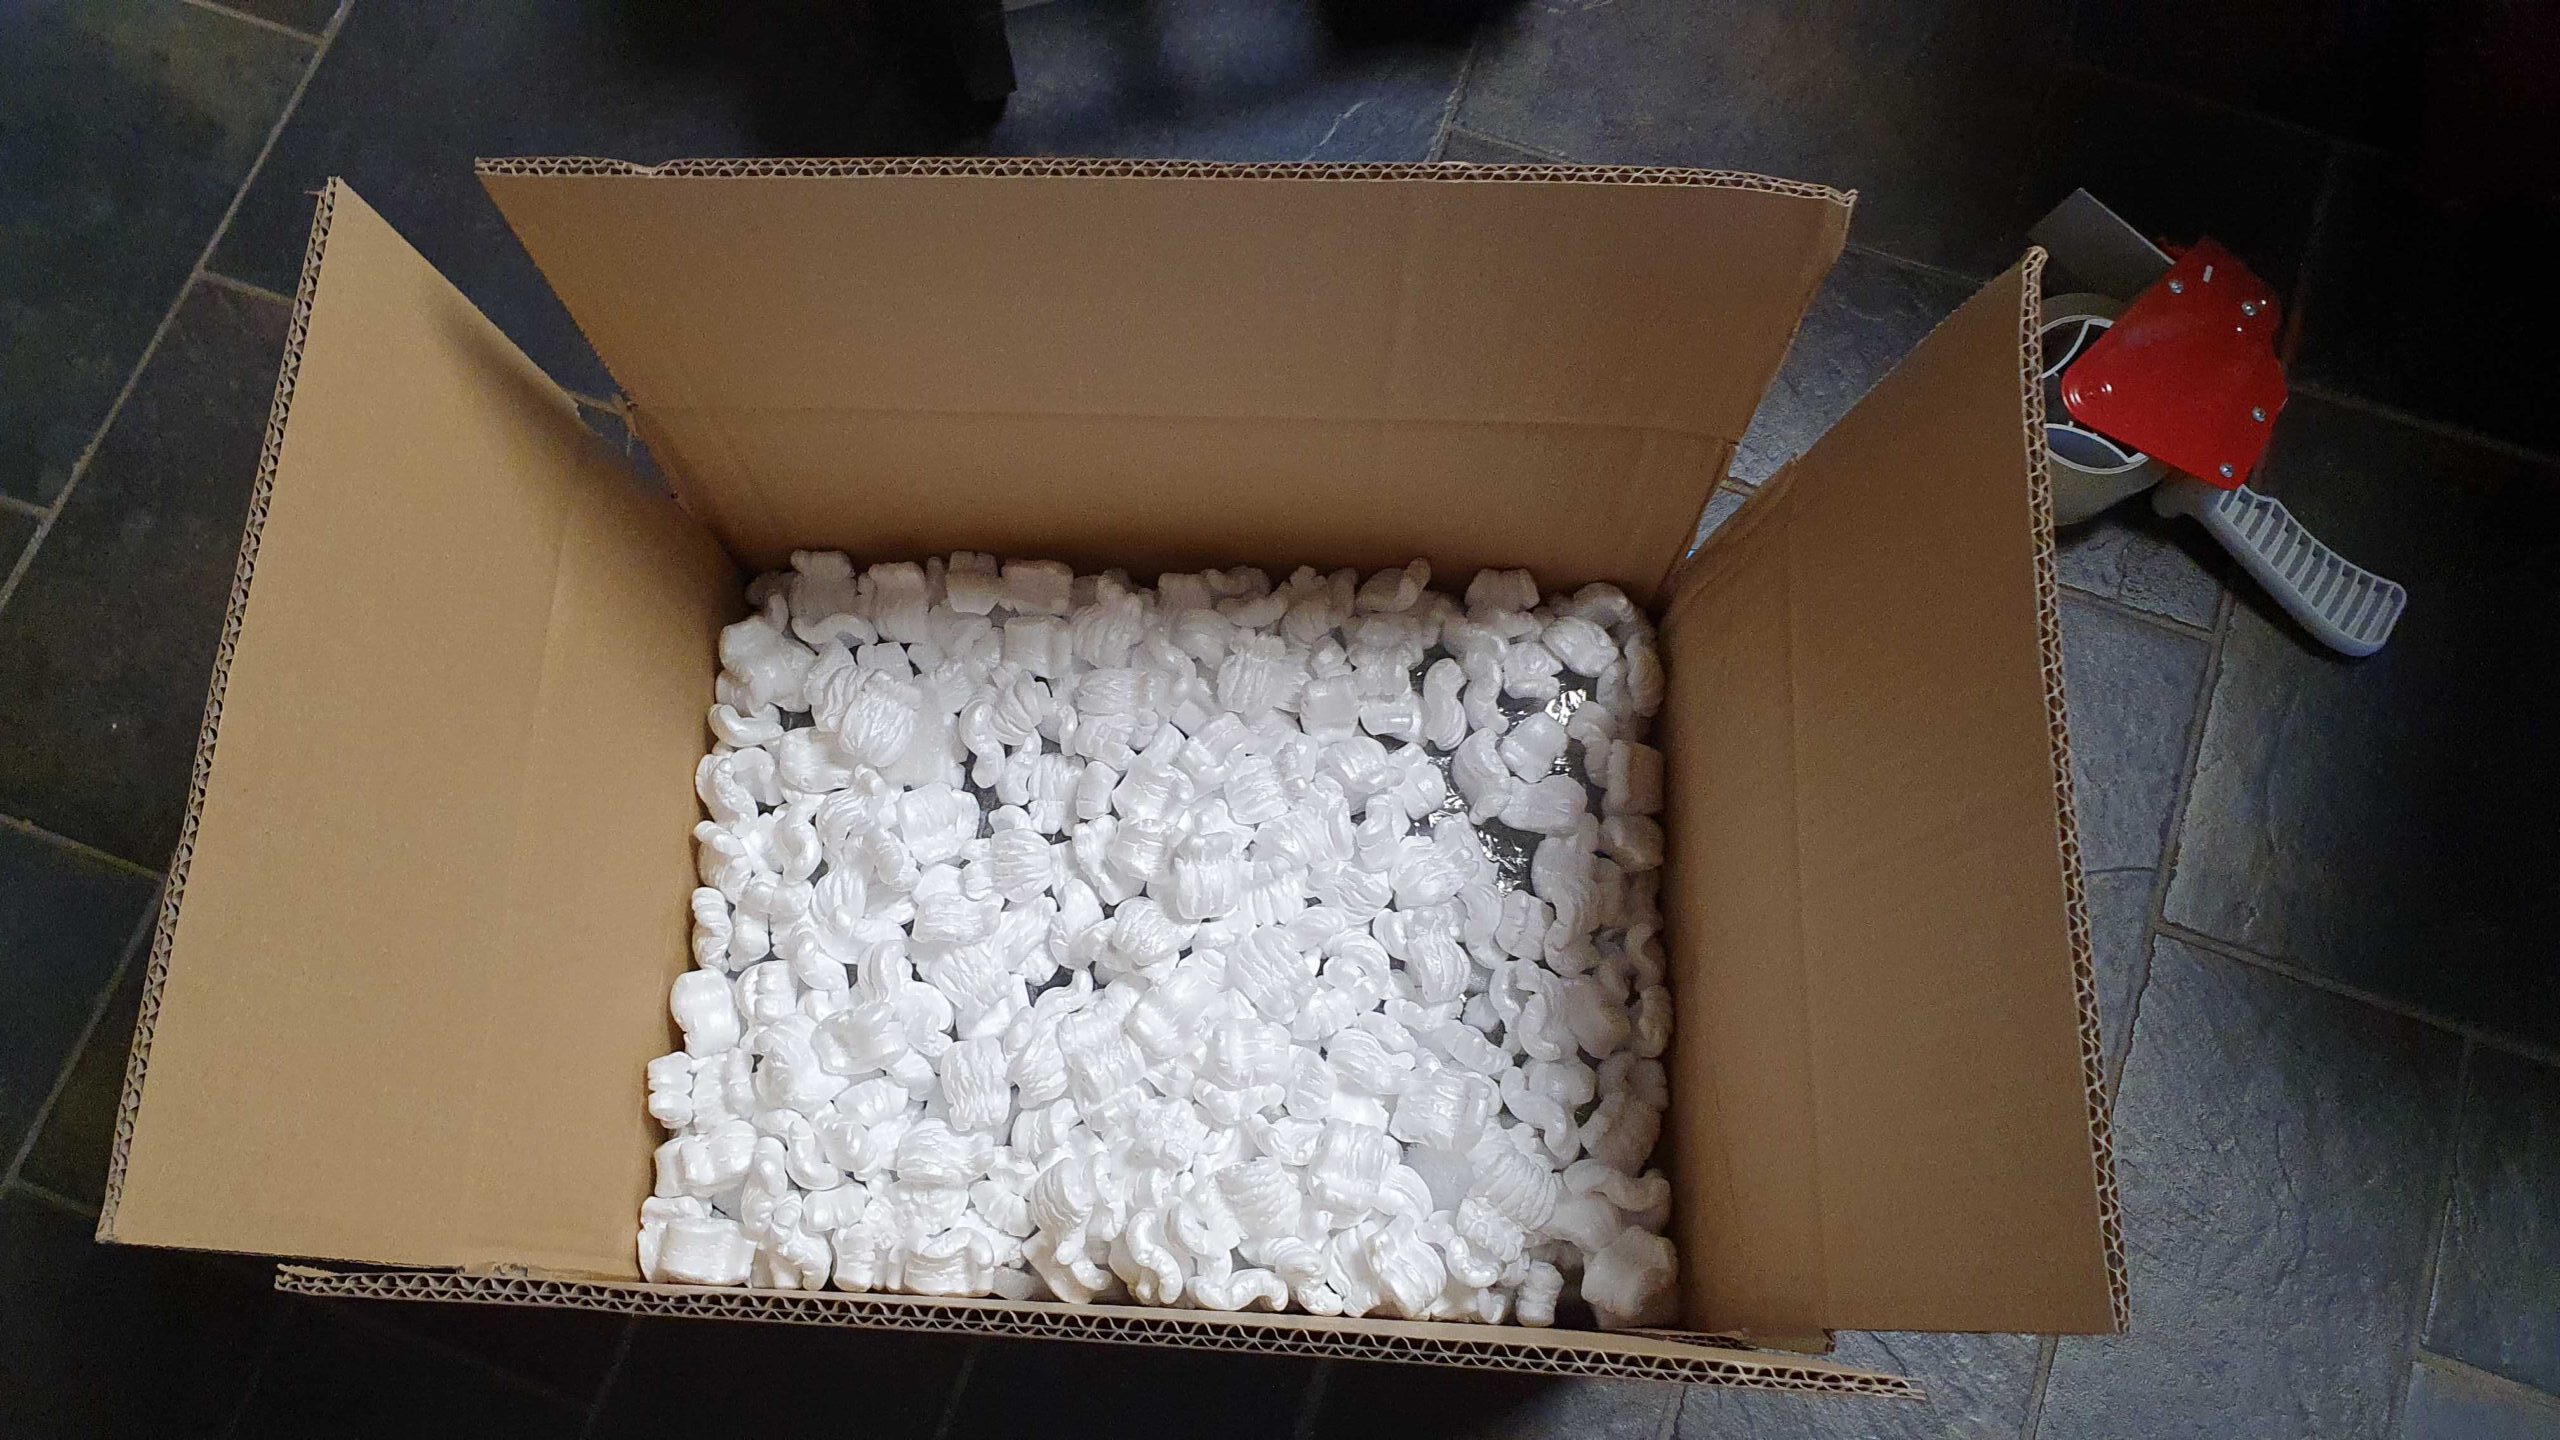
Put filling material at the sides and on top of the blister pack to protect the blister pack from all side impacts.
If the height of the blister pack is much less than the height of the box, you can cut the box along the corners starting from the top of your filling material.
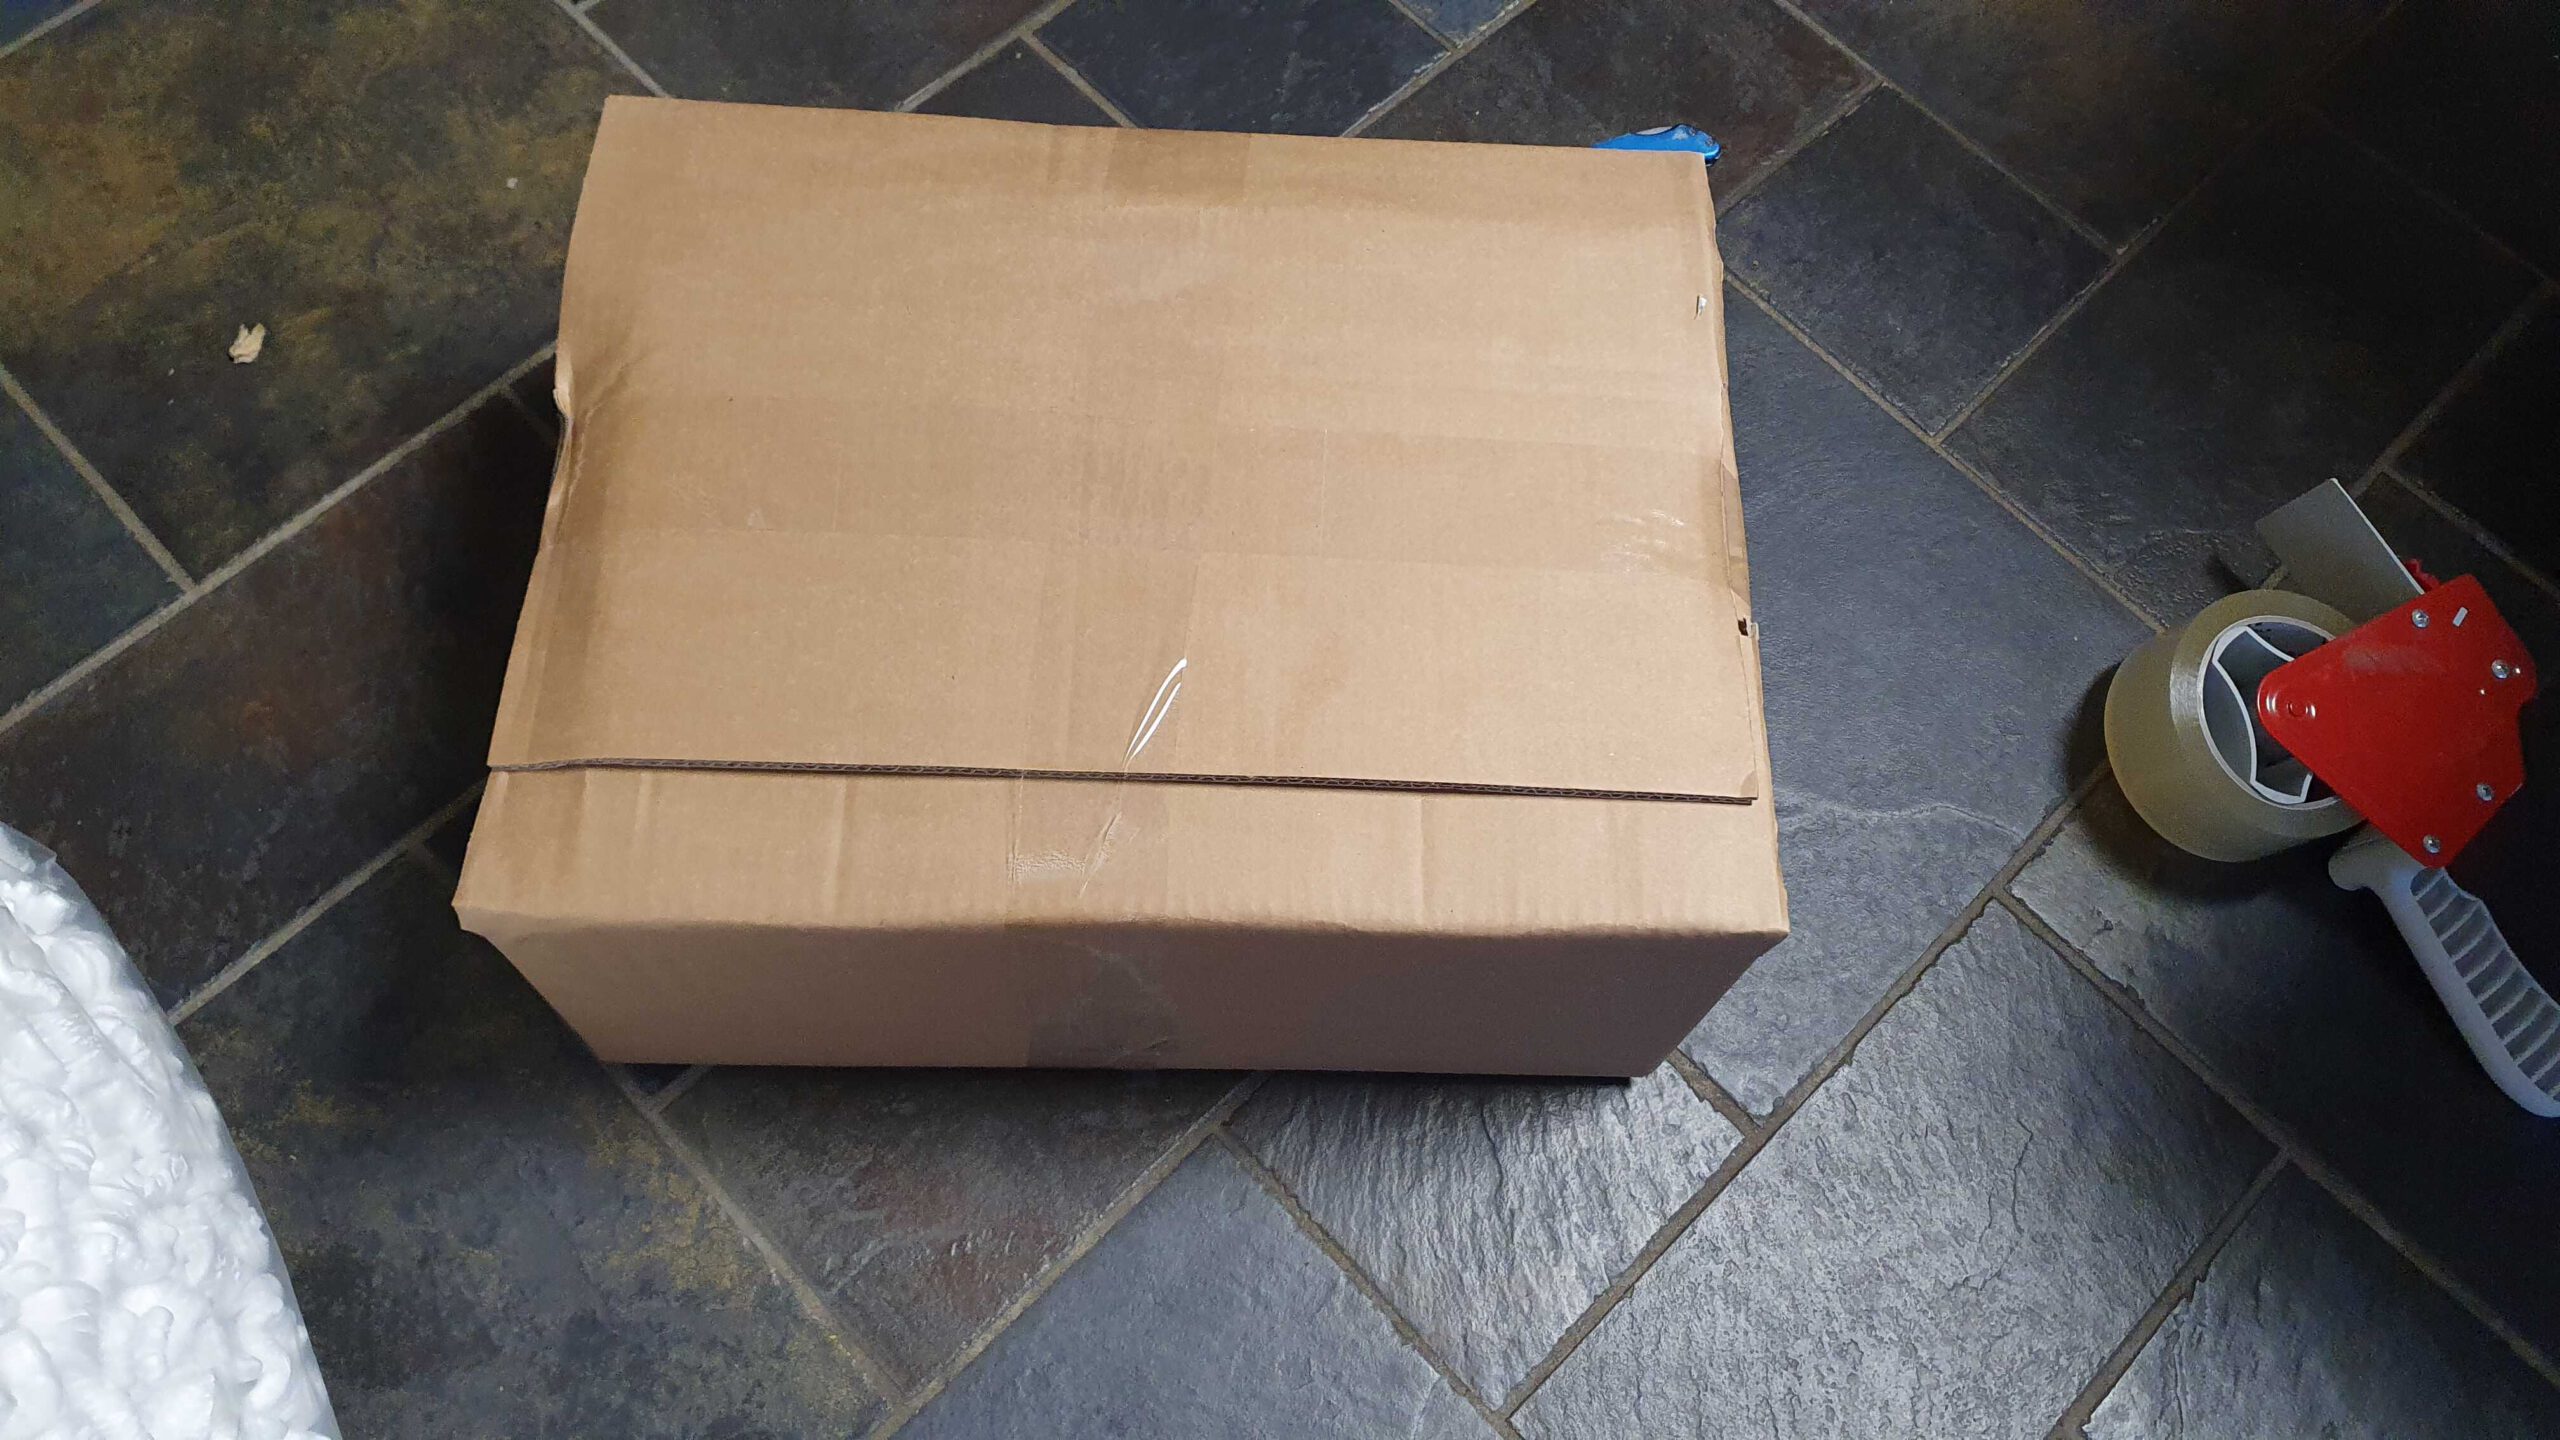
Now close the top flaps. Put your hand flat on top of the filling material and press your fingers against the place where you want the cardboard to fold. To get a nice fold, you can also put a strong cardboard plate on top of the filling material.
Close the box and use enough tape to prevent accidently opening of the box. Best go all around the box, because then the closing of the box does not depend on how strong the tape glues to the cardboard. This way you use the strength of the tape.
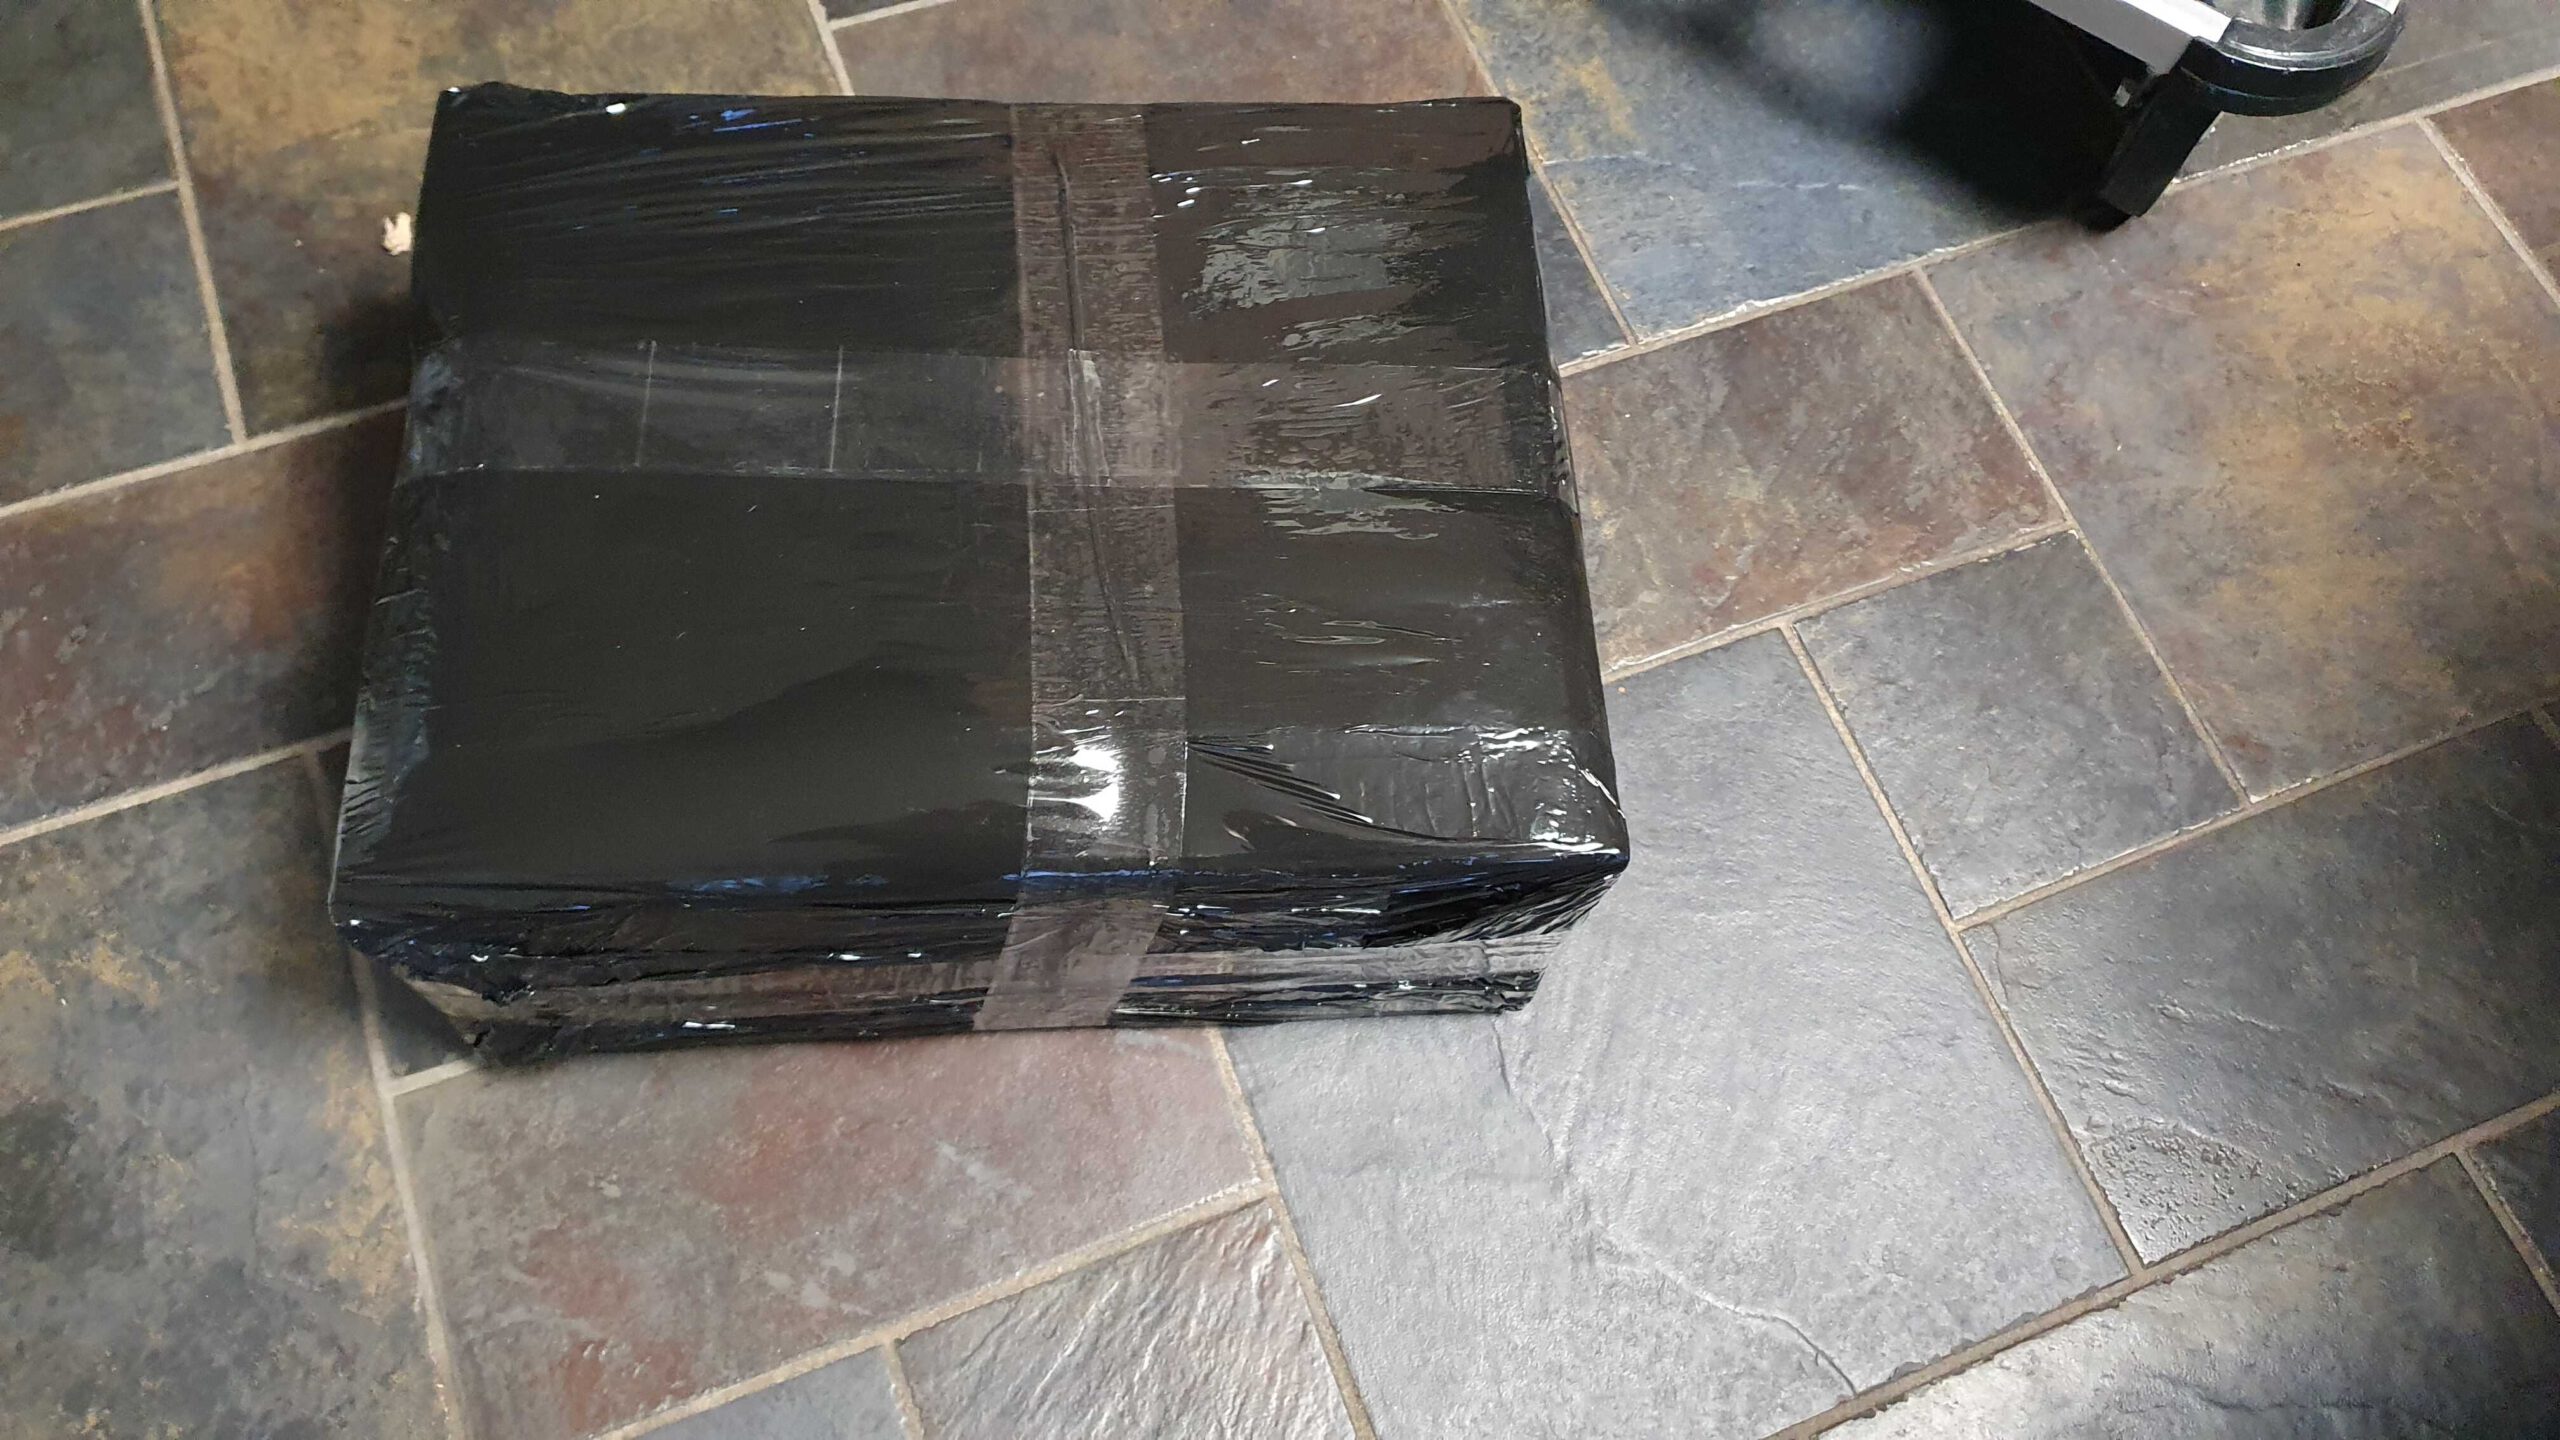
Did you ever experience the effect of a rain shower over your carefully packed box? There is a big danger that the parts end up on the street.
Using black shrink foil delivers good protection against rain, but also adds some extra strength against side impacts during transport.
The advantage of black shrink foil is that it covers stickers if the box was used before. Of course tranparent shrink foil can also be used.
If you want to use our boxes, we can supply them together with the blisters you want to purchase
